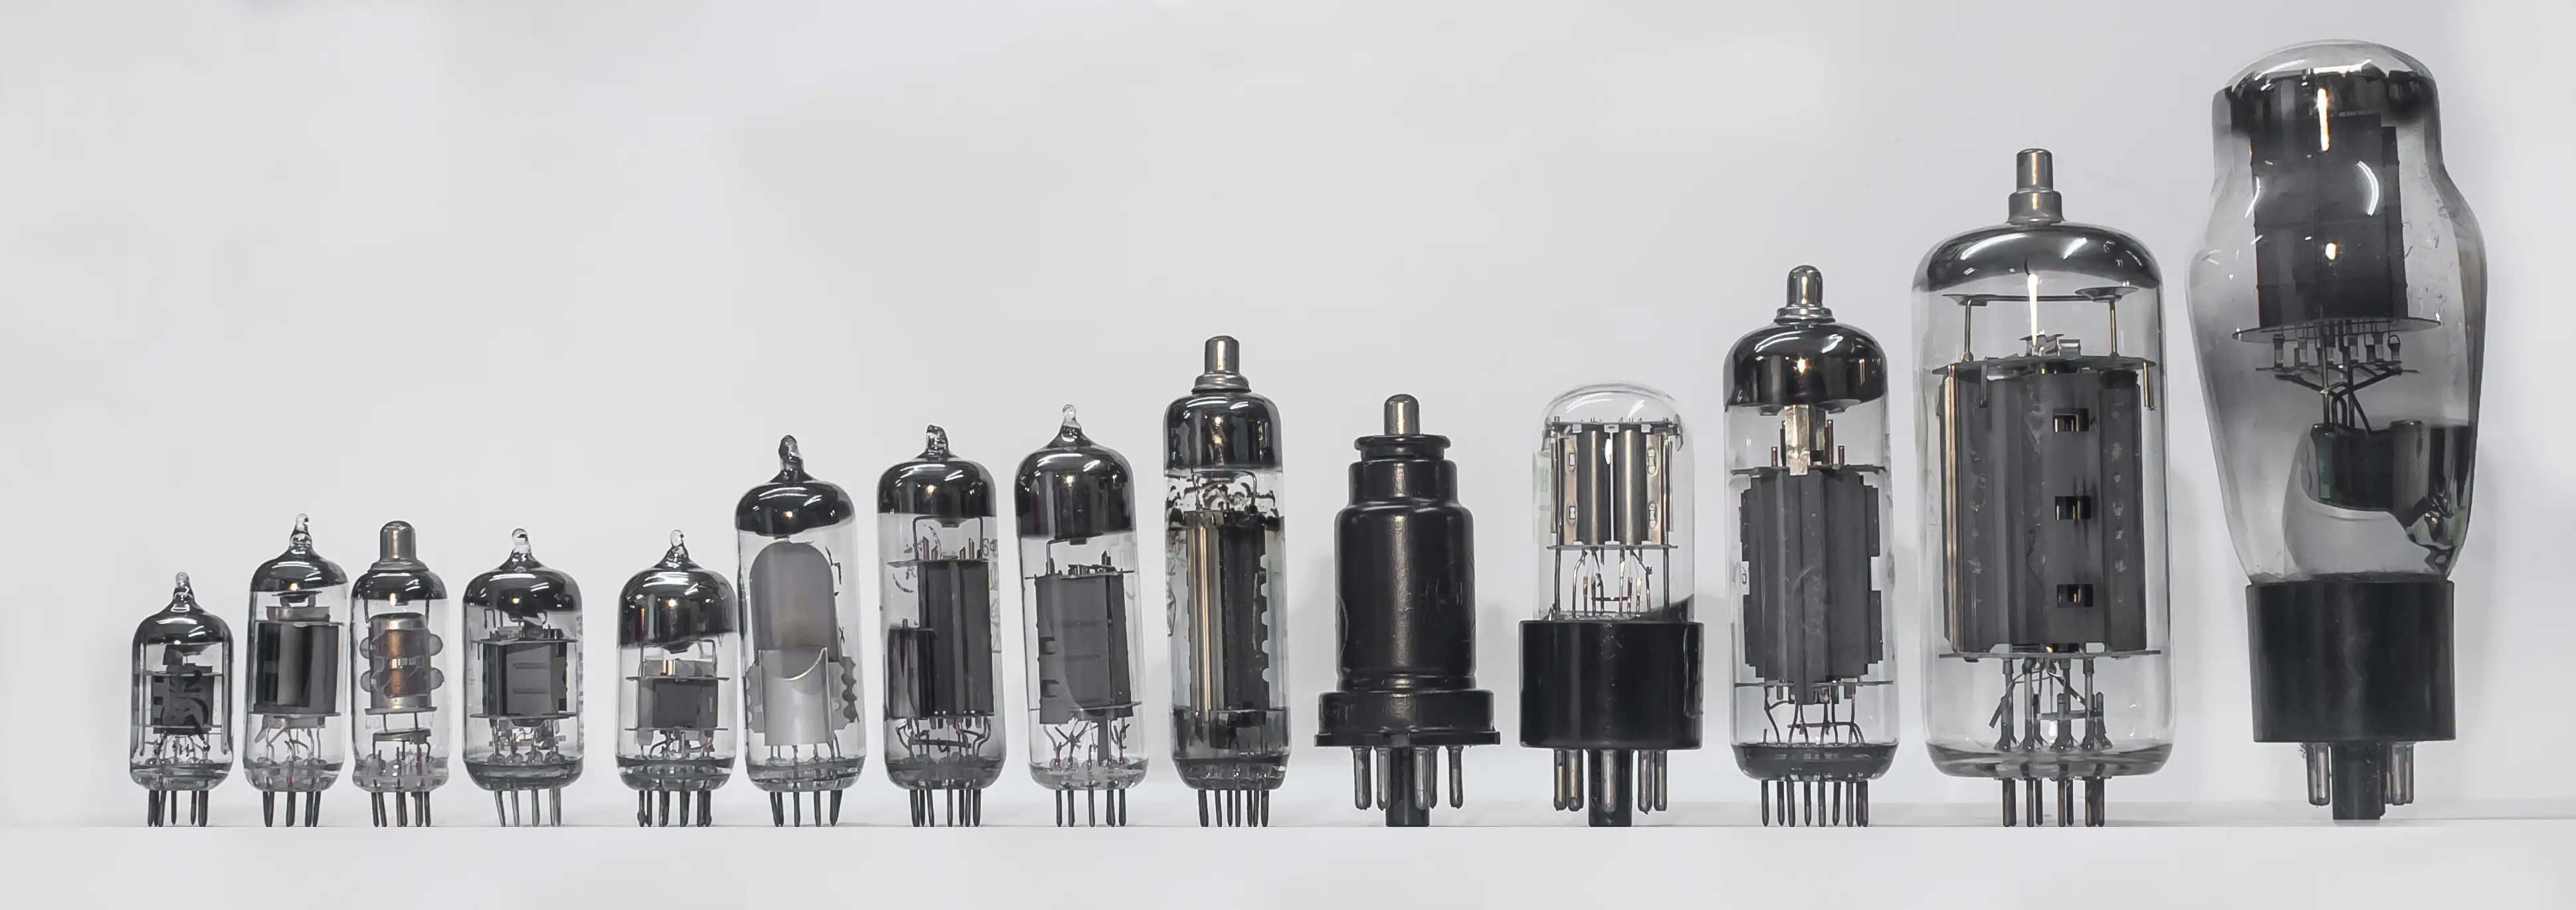
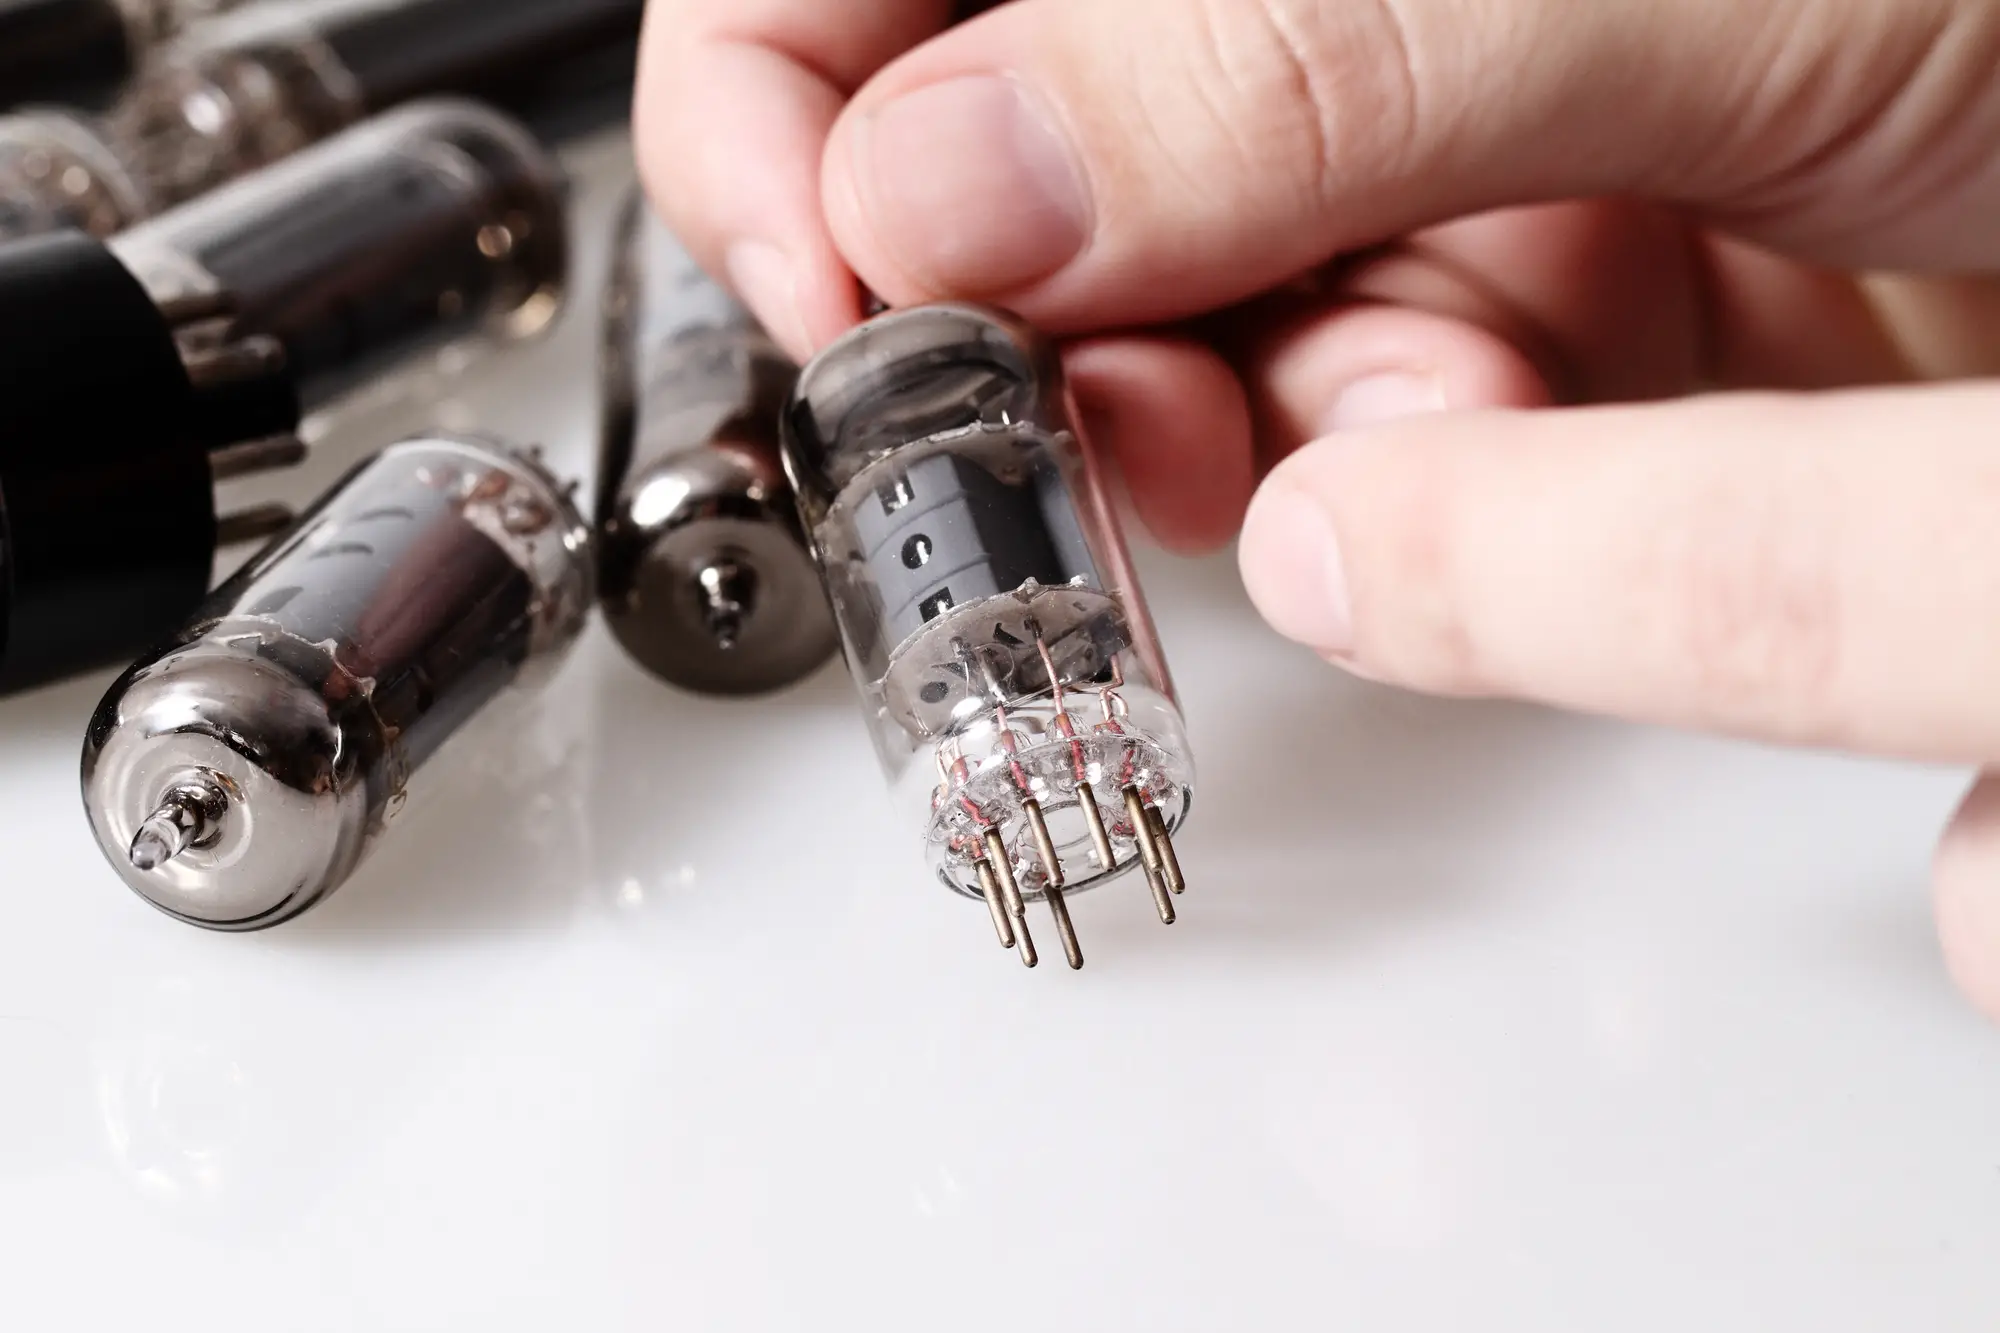
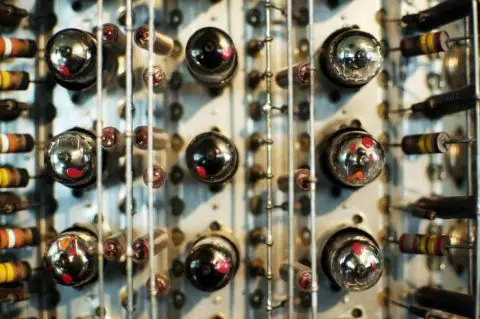
Tube rolling is a process of trying out different tubes in the same position of your amplifier and settling on the one that sounds the best to you.
Tubes are the one and only solution for many music lovers and audiophiles, with a majority of them arguing that the warmth and clarity of a tube-equipped amplifier simply can’t be matched by modern solutions.
However, tube amps require a lot more upkeep than their modern counterparts and, in order to really enjoy the sound you’re getting from one, it’s important that you become well-versed on subjects like tube rolling.
Be Safe!
- Tube amps, both guitar and stereo tube amplifiers, contain dangerously high-voltages that can be deadly.
- Tubes are very hot to the touch during and after operation.
- Your amplifier should always be turned off before opening the back panel or messing with any of its tubes or internal components.
- Heat protective gloves and clothing should be worn to avoid burns.
- You should also allow your tubes to cool down before touching them.
- If you are not trained on dealing with high-voltage equipment, ask a professional.
Take a moment and read through these safety tips from Aiken Amps.
A Rundown on How Tubes Work
Here’s a brief and simple explanation of how vacuum tubes work before we get into the topic of tube rolling and why it’s important.
First, the glass shell around a tube is what holds in the vacuum. The vacuum is required in order to keep the tube’s electrodes from oxidizing or burning, which is also why your light bulbs require a vacuum (fun fact: light bulbs are actually single electrode tubes).
The vacuum also prevents the electrodes from colliding with air molecules, which would result in undesirable noise.

While Thomas Edison was working on the light bulb, he actually miscalculated, thinking that energy flowed from positive to negative. In reality, it flows from negative to positive. During his work, he discovered that putting a wire into a vacuum tube and heating it up (think of a light bulb filament) will cause the electrons to “boil off” inside the vacuum.
The vibrating electrons in the hot wire produce kinetic energy, which actually knock electrons off of the wire and into the vacuum. Knowing that opposite electrical charges are attracted to each other, Edison also discovered that he could place a positively charged ‘plate’ inside the tube to harness the free electrons.
Then, he was able to create a current leading from the hot filament (the cathode) across the gap to this plate.
The resulting one-way electronic valve is known as the ‘Edison Effect’ and it heats the filament as electrons flow.
This design makes for a one-way valve because the plate is not heated during the process, meaning electrons cannot flow from the plate to the filament. Hence why vacuum tubes are often called “valves”.
Later on, someone found out that, if you put an electrically charged metal grid between the cathode and plate, it will block the electron flow. A positively charged grid allows the free electrons to pass through it. A negatively charged grid blocks the electrons trying to flow through. If you fluctuate the charge on this “control did”, you’re able to fluctuate the current that’s flowing between the plate and the cathode.
Of course, there is a lot more complex information that we could share if we wanted to go into complete detail about how tubes work, but this brief explanation should be good enough to help you understand what tube rolling is and why it is important.
Already feeling like you’re in the deep end? Check out our Beginner’s Guide to Vacuum Tube Amplifiers.
What Is Tube Rolling?
Everybody has a very unique and precise perception of how things sound.
What sounds like epic distortion to you might sound like blaring noise to someone else. Likewise, what someone else thinks sounds crisp and clean might sound bland and boring to your ears.
And, that’s what makes tube amps so desirable.
Unlike modern amplifiers, tube amplifiers can be tweaked and tested until they perfectly match the tonal qualities that your ear wants to hear produced. Tube rolling is one of the things that can help you optimize the tone of your amp.
Some people will take the stock tubes that come in their amp and “roll” them around, swapping their positions with one another until they feel the sound being produced is superior to the original sound, while others will use tube rolling to replace a set of tubes, figuring out which one sounds best where.
The preamp tubes are the ones most people roll since they are the easiest and most popular place to do your adjustments. Preamp tubes are self-biasing, which means you will not have to make any adjustments when installing or swapping preamp tubes.
With guitar amplifiers, most preamp tubes are universally type 12AX7/ECC83. Some technicians try a range of 12AX7 tubes when working on an amplifier to find one that the amplifier “likes”.
What you should note is that the same type (make and style) of tube made by the same manufacture can sound different once placed in your amp. This is even more true when comparing the same type of tube from different manufacturers and in different variations.
That’s why tube rolling can have a definite impact on your amplifier’s sound.
How To Tube Roll
Does your amplifier sound thin and bland?
You should probably try out a high-gain version, like the reissue Tung-Sol 12AX7. It can be substituted into your amp in order to thicken the output and give more definition to the sound. Another option is the reissue Mullard 12AX7/ECC83, which has a large plate format and is characterized with its large soundstage that’s superbly detailed.
On the other hand, if you find that your amplifier has too much gain for your liking, try plugging in a Sovtek 5751 tube, which has 70% of the gain of a 12AX7 and makes for an easy-fix switch.
You can also try the Electro-Harmonix 12AY7EH/6072A, which tends to work well in this kind of situation. It has a lower gain and higher transconductance than other varieties tubes. Oftentimes, this tube will give your amp a sort of “custom boutique” sound to it that will make it very responsive.
The Sovtek 12AX7WB is useful when you’re trying to tame an amplifier that has a very harsh sound to it. It has a dark, very warm, character and it can help smooth things out for your amplifier.
We have an infographic to help you know your tubes here.
By now, you have probably realized that you can change the gain structure of your preamp and design a custom sound by hand selecting your amp’s preamp tubes.
Preamp tubes are, again, the easiest to work with since they are self-biasing. This means you don’t have to go through the complex and tedious process of biasing your tubes.
That’s why you should always try to roll your preamp tubes first, just so you can see if you can get the results you’re after without going through a lot of trouble to pick out power tubes and try to bias them.
However, if you have played around with your preamp and you are looking for a vastly different sound, it might be time for you to give your power tubes a roll.
In most cases, when you mess with your power tubes, you’re going to have to reset the bias.
When messing with your power tubes, you’re also going to want to change out your entire set of power tubes–don’t just go picking one and changing it up! You should get an entirely new, matched set of power tubes for this purpose.
This can make finding the right sound difficult, of course, because you have to buy an entire set of power tubes to try out instead of just one like you can with the preamp.
The good news is, some amps don’t have a bias adjustment, such as the Mesa-Boogie. In this case, you’ll be forced to take the easier route of buying matched tubes from the start.
Your goal is to find a set of tubes with middle matching numbers, which means the manufacturer has already matched the bias on them so, when you stick them in your amp, no adjustment will be needed on your end.
Of course, the problem is that finding matched tubes can be a bit more difficult than just randomly selecting tubes and matching the bias later on by yourself.
But, regardless or whether or not your amp has an adjustable bias, it’s often worth saving yourself the headache of adjustments later and just seeking out some matched tubes from the start.
If you want to give your amplifier a more aggressive sound, the Sovtek 5881WXT is a good choice. If you want to achieve more of a Fender Tweed type of character, the Tung-Sol 5881 is probably a good option.
Depending on the amplifier that you own, the Tung-Sol 6L6GC-STR will generally learn more towards the sound of a vintage Fender Blackface GE or RCA sound.
Meanwhile, the Svetlana SV6L6GC is going to sound more like the Fender Silverface amplifier, which was originally stocked with
Sylvania 6L6GCs. Some amps are able to accommodate with EL34 or 6L6 tubes and most amps have a switch allowing you to change the bias range between the tubes. If you have an amp compatible with both, you’ll notice right away that the 6L6 is more Fender like where the EL34 are more Marshall like.

Tube Positions
If you spend a little bit of time looking into the concept of tube rolling, you’re probably going to come across some information related to tube positions. But, what are they?
Each tube in your amp is labeled V1, V2, and so on. Typically, V1 is the first stage and it’s going to have the most effect on the tonal qualities of your amplifier.
However, this can vary between amplifiers so what you should do is pull up a digital copy of your amp’s manual. If your amp’s manual doesn’t explain the positioning, the next step is to look up a slightly more technical schematic for the amp and it will tell you what goes where.
When tube rolling, the first stage tubes are going to have a greater effect on the tonal output of your amplifier than the latter stage tubes, but all of them will have some effect on how your amp sounds.
To help you better understand this concept, we’ll use the JTM45 as an example. In its schematic, here’s how things are labeled:
- V1 (ECC83/12AX7) = First stage normal channel and first stage bright channel preamp tube
- V2 (ECC83/12AX7) = Second stage both channels preamp tube
- V3 (ECC83/12AX7) = Phase inverter tube
- V4 and V5 (5881/6L6) = Power amp tubes
- V6 (GZ34/5AR4) = Rectifier tube
When looking to change the sound qualities of your amplifier, it’s worth knowing its unique schematic so that you know what’s going to have a tremendous effect (the V1, V2) and what’s going to have a more subtle effect (the latter in the list).
Knowing this information can help you make a good decision when it comes to changing things about inside of your amplifier and, ultimately, finding a tone that you really like.
When in doubt, look it up online!
Amp Biasing
In case we haven’t drove the point home, tube biasing can be a slight headache.
But, that shouldn’t stop you from trying out tube rolling in the instance that you can’t find a matching set of tubes that strike your fancy.
If you don’t know what a bias is, let’s explain it very quickly.
Amps have different types of biasing found within them, and the best way to understand the concept of bias is to think about your car’s idle setting. Today, most cars run on complex computers that control their idle. However, the process is still the same as it’s always been in the end.
The fuel and the air mixture is adjusted so the motor is able to run smoothly. Too much fuel or air and the motor won’t run very well, or in some cases, it won’t run at all.
So, you have to find the perfect balance in order to ensure optimum performance. With your tube amp, the idea is the same. But, instead of fuel and air, you’re dealing with electrical current. When setting the bias on your amp, you’re trying to find the optimum setting for the flow of current when your amp is on “idle”.
Too much and you’ll shorten the life of your tubes significantly. It can also lead to amp failure in extreme cases, and usually a musician will say the amp is “biased hot”.
On the other hand, if you have too little, you’ll experience unpleasant (crossover) distortion, which leads to the amp being referred to as “biased cold”.
Finding the correct setting is critical so your amp functions and sounds its best.
Now, you might be thinking, if your amp has an optimum setting, why doesn’t the manufacturer find that point and then leave it? While that would make the most sense, unfortunately, it is not that simple.
The optimum bias is less of an exact point and more of a moving target. In reality, the optimum bias is an acceptable range rather than a single setting.
Every set of tubes you place into your amp is going to have unique performance characteristics that directly affect the optimum bias for your amp.
Even if you stick to a single brand of tubes, you’re going to find that one set may vary widely from another in terms of how they operate. This is a basic reality of vacuum tube production.
For this reason, when you change out your amp’s power tubes, you’ll likely need to adjust your amp’s bias to ensure the amp is optimized for the new set of tubes.
How you go about biasing your amp has been covered in its own tutorial but we’ll briefly recap the three types of amp bias you may run into below:
- Cathode Bias: This type of bias requires the least amount of work on your type and is often called “self-biasing”. The design of a cathode bias makes it capable of balancing itself against the current draw of the tubes you have placed in.
- Adjustable Fixed Bias: The bias is pre-set to a fixed point based on a given set of tubes’ performance. A tech will take multiple readings while the amp is in “idle” and then establish the current that the tubes should be drawing. Using an internal adjustment pot, they will set the bias using that information. It’s actually not difficult, but it’s extremely dangerous if you don’t know what you are doing.
- Non-Adjustable Fixed Bias: This bias cannot be easily adjusted. Rather, it is pre-set to a fixed point so that it works with a fairly wide range of tubes. This is a plug and play setup, but you’ll get varying results as you put in new sets of tubes. You definitely should look for matched or graded tubes.
Want more info on biasing? Click here.
Tube Matching
Have you gotten the hint yet that tube matching is going to play a significant role in making sure the end result is desirable?
As explained above, vacuum tubes vary wildly in their operating characteristics from one to another. Even choosing the exact same brand and style, you might end up with two tubes that massively differ.
While it’s okay for you to go from one set of tubes to another set of tubes, each set having different characteristics, it is very important that the tubes within a set are all as similar as possible to one another.
Fortunately, tube manufacturers sell matched or graded sets to help make your life a little bit easier.
Basically, many companies buy tubes in bulk and then test each one individually. They then grade and match them to create a set of tubes that are going to work together most optimally. Matched and graded tubes are a bit more expensive due to the work involved on behalf of the company selling them, but it’s worth every penny.
In addition, the company is going to dispose of any tubes that failed their performance tests, which means you won’t have to worry about getting a “dud” or buying a tube just to find that it burns out within a short period of time.
Matched and graded tubes are of higher quality and, together as a set, they are going to get you far better results than simply throwing a bunch of randomly selecting tubes in to your amp all at once.
If you replace your current tube set with a set that has a similar performance rating, this means even those with adjustable fixed bias amps can get around re-biasing their amps all together when they go to swap out tubes. This makes matched and graded tubes ideal for tube rolling and every other purpose for which you need to trade in your power tubes.
Finding The Perfect Sound
As you probably now understand, tube rolling has the ability to completely change the sound of your amp.
If you start with your preamp tubes, you can make a huge difference in how clean, dirty, or distorted your amp sounds with just a basic swap. If you want to make a more dramatic change, you can also change out your power tubes to get a completely new sound in your amplifier.
While your amp’s tubes aren’t the only variable affecting how your amp sounds, at the end of the day, changing your amp’s tubes is definitely the most significant change you can make that will effect its function and sound quality.
Good luck!
For more information about tube rolling:


More of a question than a reply, I own a jeep. With a jeep you are basically trying to send music in the open air. So traditionally I have solved this with brute force. On my new jeep I have 5 power amps 4 bridged for 4 speakers and one for the sub. In trying to “Tame” the speakers(Too much treble) I added EQ’s to the inputs. And just for fun I want to put a tupe pre in to see how that goes. Should I put before the EQ or between the EQ and the amp